Initial Setup
Before you can use ALAN Captcha, you need to register your website or web application on our ALAN Captcha Admin Panel to obtain a SiteKey and ApiKey. More information about the ALAN Captcha Admin Panel can be found in the ALAN Captcha Admin Panel documentation.
The ALAN Captcha Forms plugin in WordPress is set up in only 3 easy steps.
1. Navigate to the Plugins Page
Click on the Plugins tab in the sidebar to access the plugins page.
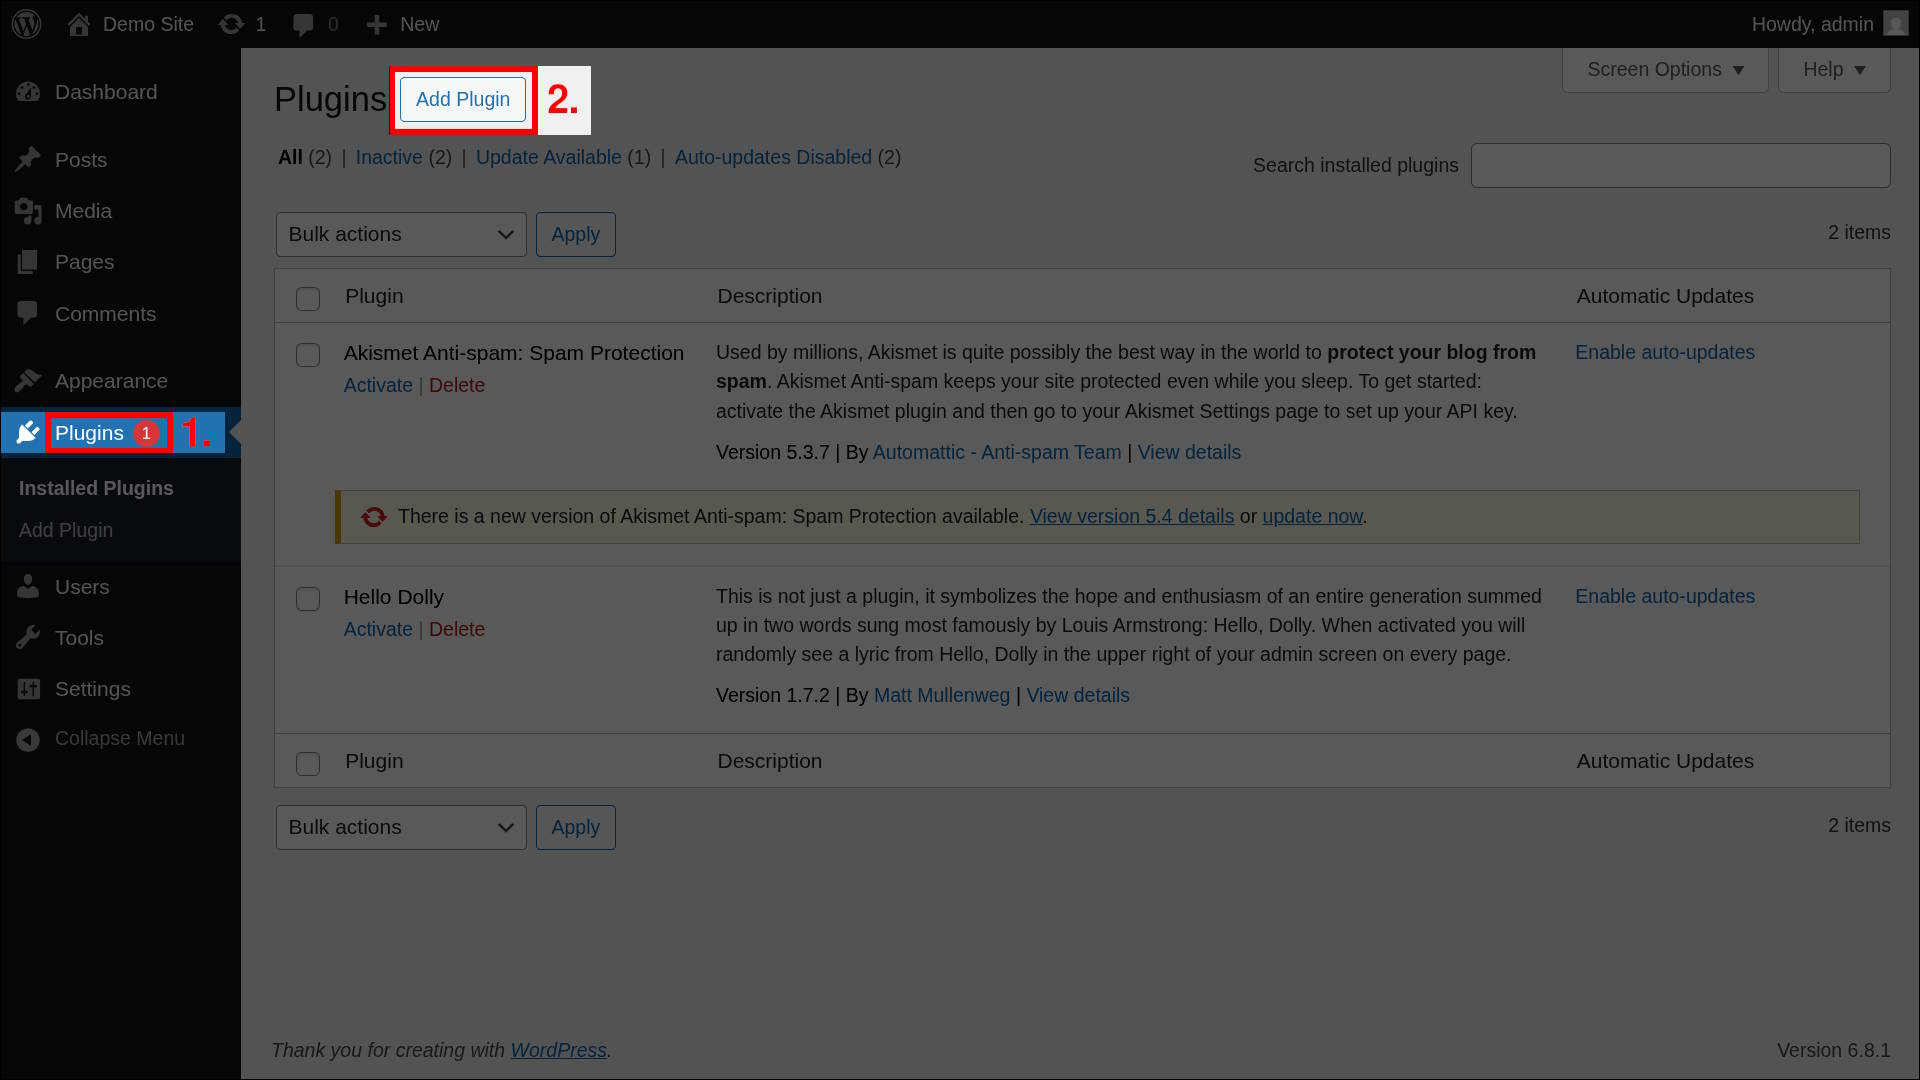
Your WordPress dashboard might look different depending on the themes, plugins, or customizations installed on your site.
2. Install the WordPress plugin
To install the WordPress plugin from the WordPress Plugin Directory, simply search for ALAN Captcha,
click on the plugin and press Install.
Once finished, make sure to activate the plugin.

3. Input your credentials
After installing and activating the plugin, a new menu item will appear in the WordPress admin sidebar labeled Alan Captcha Forms.
Click on this menu item for initial setup. Settings and features of the plugin can also be accessed there.
Input the Site Key and API Key from your ALAN Captcha Admin panel and press Save Changes. If entered correctly, you should see a success message; otherwise, an error. Without a Site Key and an API Key the plugin won't work.
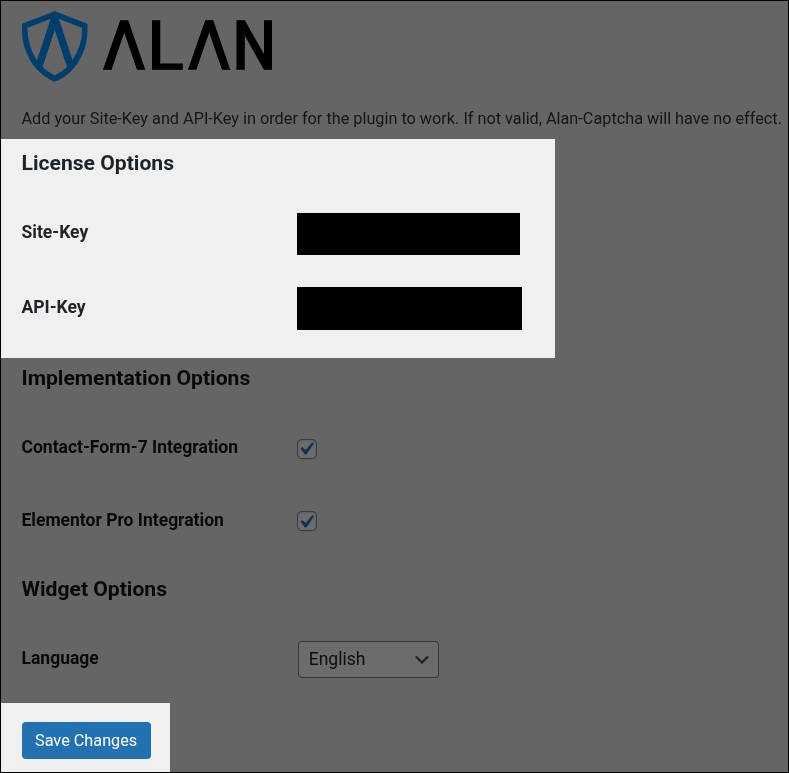
An ALAN Captcha account is required for this step. If you don't have an account visit my.alancaptcha.com